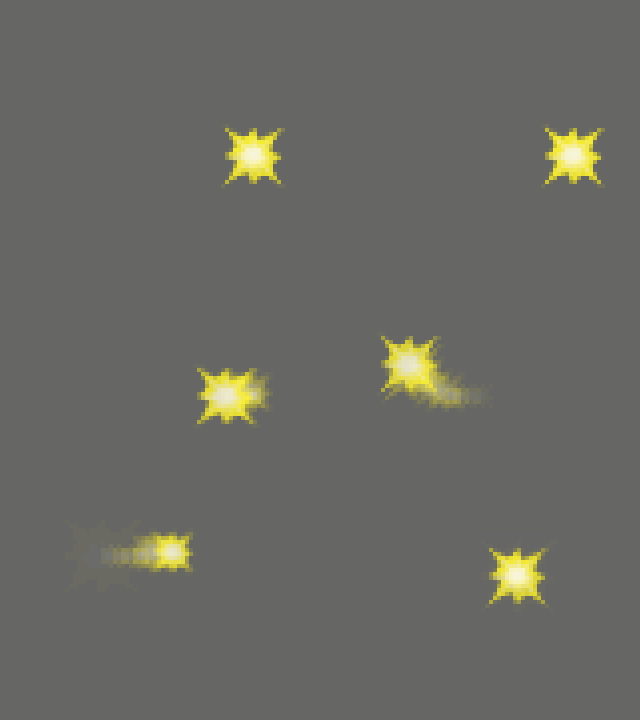
Trails are more like after-images of a parent image. Some may refer to this as a blur effect. The HaxeFlixel FlxTrailArea demo demonstrates this.
An example usage would be in a Breakout clone, as demonstrated in this video Juice it or lose it (at the 11:50 mark). It’s not relevant, but I recommend watching this video on how to improve your game’s overall feel. 🙂
Setup
Let’s create a new HaxeFlixel template project, as usual:
|
1 |
flixel tpl -n "MyTrailTest" |
And let’s assume we’re using the same image from the previous tutorial, the sparkle.png, and it’s located in the /assets/images folder.
To use the FlxTrail and FlxTrailArea classes, you need to enable them in the Project.xml file:
|
1 2 |
<!--In case you want to use the addons package--> <haxelib name="flixel-addons" /> |
And finally, for visibility sake, let’s set the screen resolution in Main.hx:
|
1 2 |
var gameWidth:Int = 160; // Width of the game in pixels (might be less / more in actual pixels depending on your zoom). var gameHeight:Int = 120; // Height of the game in pixels (might be less / more in actual pixels depending on your zoom). |
Code
And now let’s quickly write the code in MenuState.hx:
|
1 2 3 4 5 6 7 8 9 10 11 12 13 14 15 16 17 18 19 20 21 22 23 24 25 26 27 28 29 30 31 32 33 34 35 36 37 38 39 40 41 42 43 44 45 46 47 48 49 50 51 |
package; import flixel.FlxState; import flixel.FlxG; import flixel.FlxSprite; import flixel.addons.effects.FlxTrail; class MenuState extends FlxState { var player:FlxSprite; override public function create():Void { super.create(); // Set background color for visibility sake FlxG.camera.bgColor = 0xFF666666; // Create player player = new FlxSprite(FlxG.width * 0.5, 50); player.loadGraphic("assets/images/sparkle.png", true, 32, 32); player.animation.add("anim", [0,1,2,3], 6); player.animation.play("anim"); // Create trail var trail:FlxTrail = new FlxTrail(player); // Note: If we add the trail AFTER the player, then // the trail effects will always appear above the player. add(trail); add(player); } override public function update():Void { super.update(); // Move player player.velocity.x = 0; player.velocity.y = 0; if (FlxG.keys.pressed.LEFT) player.velocity.x = -50; if (FlxG.keys.pressed.RIGHT) player.velocity.x = 50; if (FlxG.keys.pressed.UP) player.velocity.y = -50; if (FlxG.keys.pressed.DOWN) player.velocity.y = 50; } override public function destroy():Void { super.destroy(); } } |
This gives you the result when built in lime test neko :
Would FlxTrail have performance issues if we had hundreds of balls that bounce around in a screen, and each of them has a trail? This is where FlxTrailArea can be used:
|
1 2 3 4 5 6 7 8 9 10 11 12 13 14 15 16 17 18 19 20 21 22 23 24 25 26 27 28 29 30 31 32 33 34 35 36 37 38 |
package; import flixel.FlxState; import flixel.FlxG; import flixel.FlxSprite; // import flixel.addons.effects.FlxTrail; import flixel.addons.effects.FlxTrailArea; class MenuState extends FlxState { var player:FlxSprite; override public function create():Void { super.create(); // Set background color for visibility sake FlxG.camera.bgColor = 0xFF666666; // Create player player = new FlxSprite(FlxG.width * 0.5, 50); player.loadGraphic("assets/images/sparkle.png", true, 32, 32); player.animation.add("anim", [0,1,2,3], 6); player.animation.play("anim"); // Create trail //var trail:FlxTrail = new FlxTrail(player); var trail:FlxTrailArea = new FlxTrailArea(); trail.add(player); // Note: If we add the trail AFTER the player, then // the trail effects will always appear above the player. add(trail); add(player); } ... } |
If you test the game now, you’ll see no difference. But at least now you know, that you can add as many sprites as you like to be trailed in the FlxTrailArea, rather than individually creating attaching a trail using FlxTrail.
Minor note: Referring to the FlxTrailArea API, if no parameters were given in new() , the size of the trail images will be the full screen.
