
Before playing a game, there usually is a menu of buttons, right? While this seems like a trivial topic, I personally had some difficulty figuring out how to create buttons (not just in HaxeFlixel) beyond the default skin.
Let’s go through the easiest way to create a button by referring to the HaxeFlixel cheat sheet (FlxButton section). Assuming you created a new HaxeFlixel template, let’s modify the MenuState.hx, like this:
|
1 2 3 4 5 6 7 8 9 10 11 12 13 14 15 16 17 18 19 20 21 22 23 24 25 26 27 28 29 30 31 |
package; import flixel.FlxState; import flixel.FlxG; import flixel.ui.FlxButton; class MenuState extends FlxState { override public function create():Void { super.create(); var button:FlxButton = new FlxButton(50, 50, "Click here", OnClickButton); add(button); } function OnClickButton():Void { trace("clicked!"); } override public function update():Void { super.update(); } override public function destroy():Void { super.destroy(); } } |
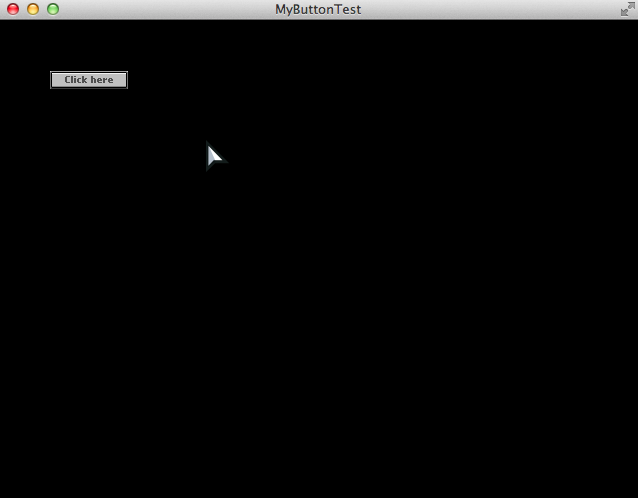
And now it should look like this when you build it with lime test neko :
Now, what if we wanted a custom skin for the button? You could watch a 12-minute video tutorial by varomix WEY below…
… Or you could continue reading below, at your own pace. Let’s assume you’ve watched the video above and still didn’t understand, so let’s start from the beginning then.
Buttons typically have 3 states, and such, we’d need 3 images — the default button, the hovered button, and the pressed button.
So let’s head over to OpenGameArt.org and find a button spritesheet to use, perhaps this one: UI Orbs by StumpyStrust. Download the zip file and extract its contents. Let’s just use one image from the pack — “bnw.png” — and put it in your /assets/images folder. Take note of the size of the button — each button image is 128×128, and combined, becomes 384×128.

Now if you modify the code like this:
|
1 2 3 4 5 6 7 8 9 10 11 12 13 14 15 16 17 |
override public function create():Void { super.create(); // Set the background to something lighter so we can see // the button easily FlxG.camera.bgColor = 0xFF999999; // Create the button var myButton:FlxButton = new FlxButton(50, 50, "Click here", OnClickButton); // Load an image to the button myButton.loadGraphic("assets/images/bnw.png"); // Add button to the stage add(myButton); } |
You’ll get this result, which is undesirable:

This is because it assumes the button is the full image itself (384×128). Now, if we write the code like this:
|
1 2 3 4 5 6 7 8 9 10 11 12 13 14 15 16 17 |
override public function create():Void { super.create(); // Set the background to something lighter so we can see // the button easily FlxG.camera.bgColor = 0xFF999999; // Create the button var myButton:FlxButton = new FlxButton(50, 50, "Click here", OnClickButton); // Load an image to the button myButton.loadGraphic("assets/images/bnw.png", false, 128, 128); // Add button to the stage add(myButton); } |
… The button now looks fine and works out of the box.

Coincidentally, the order of the button images correspond with the mouse state — normal, hover, pressed. Convenient, huh?

One last thing — you can just remove the “Click here” text on the button like this:
|
1 2 |
// Create the button var myButton:FlxButton = new FlxButton(50, 50, "", OnClickButton); |
Okay, so now we know how to make a simple button, and execute code when the player clicks on it. In the upcoming posts, we’ll go in-depth — event/callbacks.
your code have error
myButton.loadGraphic(“assets/images/bnw.png”, false, 128, 128);
must be
myButton.loadGraphic(“assets/images/bnw.png”, true, 128, 128);
or not worked for animation button
english is not my native language
Hi, thanks for your reply! I don’t have time to test the code right now, but if it works for you, then that’s great. 😀